Kitchen sponges are festering germ dens—and sanitizing them doesn’t help

Some germy places in the house include the kitchen faucet and sponges. Typically people wash their hands after handling raw meat in the kitchen and frequently use sponges or cloths to wipe germs from surfaces in the kitchen. (Photo by Zbigniew Bzdak/Chicago Tribune/MCT via Getty Images)

Scientists have long thrown shade at the unassuming kitchen sponge. The household staple skulks in sinks amid dirty dishes and soggy food scraps, sopping up and amplifying microbial forces capable of invading clean food spaces. The savvy kitchen-goer may think they have this situation locked down—a simple toss through a sanitizing dishwasher cycle or a sizzling swirl in the microwave… and done. Sudsy germsplosion averted.

Nice try, says science.

In a comprehensive study of 14 household sponges and their microbial inhabitants published in Scientific Reports, researchers confirmed that kitchen sponges are indeed domestic abominations. Moreover, any sterilizing attempts only seem to temporarily free up sponge-space for potential pathogens, which rapidly recolonize the festering scrubber.

I haven’t used a sponge in my personal kitchen for years.  Blech.

Read the whole thing at ARS Technica.

Further Reading:

The New York Times:  We Need to Talk Some More About Your Dirty Sponges


You’re Using your Nonstick Pans all Wrong — Here’s the Right Way to Care for Your Pans

Most of this is obvious; and I agree with the part about using olive oil or butter instead of cooking spray. I usually heat my pan before adding oil or butter, but I guess I’ll change that when using nonstick!


The Rule Against Refreezing is a Myth

Refreeze foodsFrom The New York Times:

The notion that you cannot refreeze thawed foods “is a myth,” said Tina Hanes, a registered dietitian with the United States Department of Agriculture’s Food Safety and Inspection Service.  Any raw or cooked food that has been thawed can be refrozen.

There’s an important caveat, though:

As long as it was thawed properly — in the refrigerator, not on the counter — and hasn’t spoiled. That includes raw meat, poultry, fish and seafood, Ms. Hanes said.

You should never thaw frozen meat, poultry, fish or seafood by placing it on the counter at room temperature or by running it under warm tap water, she said, “because bacteria like it warm, like we do, and multiply rapidly at room temperature. Thawing on the counter is not safe, period. You should never do that.”

I think a lot of people thaw frozen food on the kitchen counter.  It’s a no no.

In a 2013 household germ study, NSF International found salmonella, E. coli, yeast and mold hidden in blender gaskets.
In a 2013 household germ study, NSF International found salmonella, E. coli, yeast and mold hidden in blender gaskets

Home kitchens are notoriously full of germs and bacteria.  Much more so than commercial kitchens, or even home bathrooms.   NSF International, a nonprofit organization based in Ann Arbor, Mich., that has been promoting proper cleaning of kitchen tools and appliances since the 1940s.  NSF International recently put out recommendations on kitchen hot spots based on studies done in 2011 and again in 2013:

  • Scary sponges
  • Ghastly gaskets
  • Creepy fridge compartments
  • Separate the spatulas and clean the can opener
  • Wash water dispensers and coffee reservoirs

Cleaning a few often-overlooked areas in the kitchen can offer additional protection from E. coli, salmonella, listeria, yeast and mold.

Further Reading:


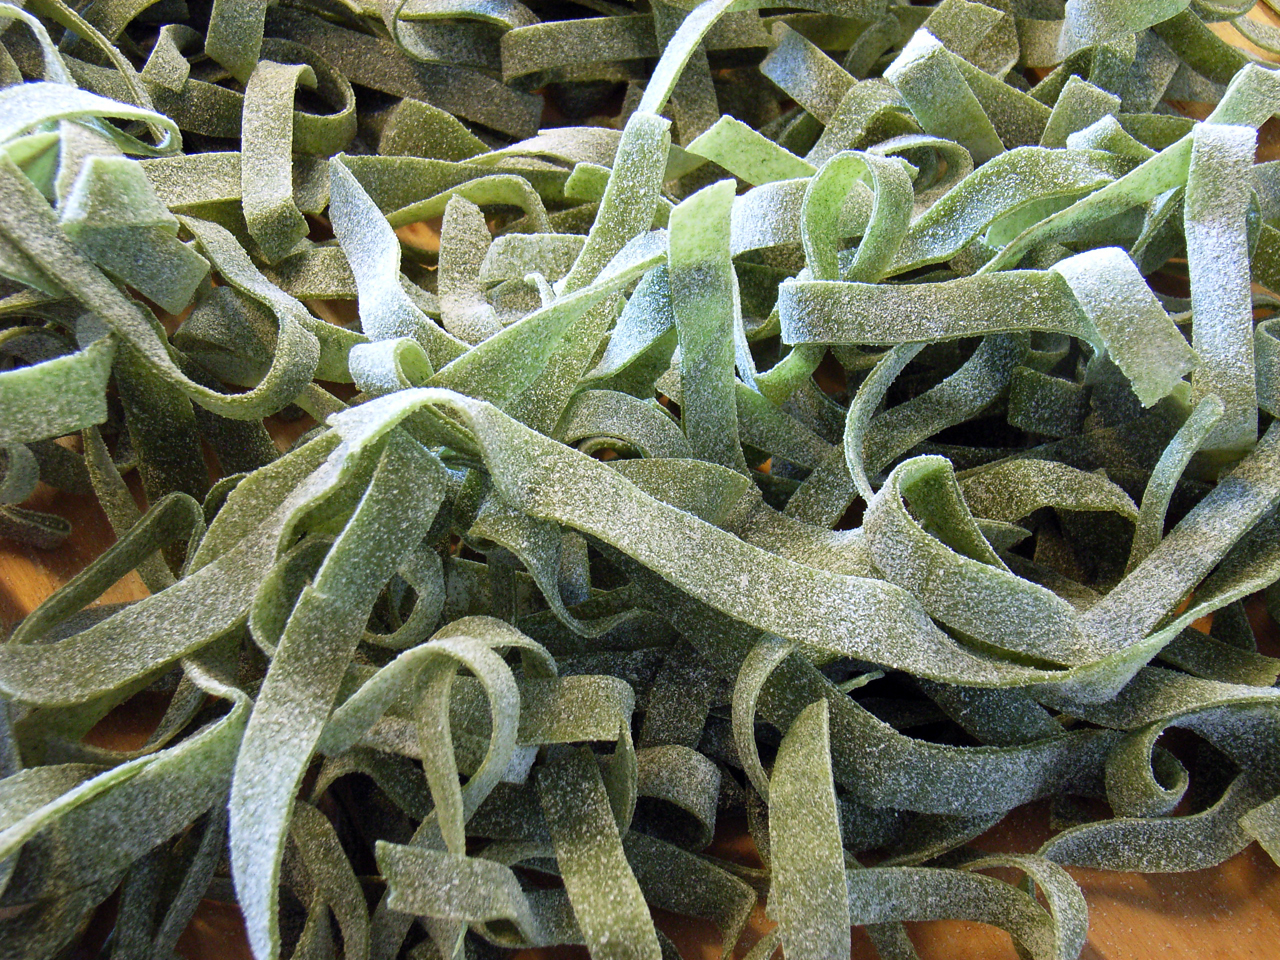
Pasta Verde: Making Your Own Spinach Pasta

Once you’ve learned to make your own fresh egg pasta, it’s a breeze to make Italy’s most famous flavored pasta – spinach pasta [pasta verde].

Pasta verde can be used for tortellini, for pastas with sauces containing earthy mushrooms, and of course for Lasagne Verdi al Forno [Baked Spinach Lasagne in the style of Bologna].  You can make it with either fresh or frozen spinach — and the results surprisingly similar.  Here’s how:

Continue reading “Pasta Verde: Making Your Own Spinach Pasta”

High-Altitude Baking

The Italian Alps. Photo Courtesy Travel GGG

What a wonderful Christmas we had while visiting Colorado – fresh brisk air, snow, friends and family.  And as is our tradition, we baked.

The challenge this year was the high altitude and how it would affect favorite breads, cookies, and quick breads.  While there are many terrific high-altitude baking books available, any baker understands the comfort one has with tried and true familiar recipes.  Aren’t there a few simple adjustments to compensate for the altitude?

We baked using recipes from Rose Levy Beranbaum’s The Bread Bible and The Pie and Pastry Bible, Nancy Silverton’s Breads from the La Brea Bakery, Carol Field’s The Italian Baker, and King Arthur Flour’s Bakers Companion and Cookie Companion.

Here’s what we learned about high-altitude baking this Christmas in the Rocky Mountains:

High altitude, among other things, can significantly affect baking outcomes.  With higher altitude comes lower air pressure and typically drier atmospheric conditions.  Altitude begins to affect baking results at around 3,000 feet – a level where the baker must begin to make recipe modifications.

Below are some helpful tips when you’re baking at a high altitude:

Continue reading “High-Altitude Baking”

Mastering the Techniques of Sautéing and Browning

Stove-top sautéing and browning are two of the most common cooking techniques in Italian cuisine.  Unfortunately, many cookbooks gloss over these important methods, leaving it to the home cook to determine how it should be done.  Temperature, amount of fat, and cooking time all contribute to a recipe’s success.

Continue reading “Mastering the Techniques of Sautéing and Browning”

Pasta all’Uova Fatta in Casa: The Joy and Satisfaction of Making Homemade Egg Pasta

Courtesy Pasta Agnesi Museum, Oneglia

Eating your own homemade fresh egg pasta is one of the most satisfying and enjoyable experiences of Italian cuisine.  Making your own fresh pasta is surprisingly easy and the result will likely exceed that which most Italian restaurants prepare.  Using the right ingredients and adhering to simple techniques will ensure perfect fresh pasta – at a fraction of the cost your supermarket charges.

Continue reading “Pasta all’Uova Fatta in Casa: The Joy and Satisfaction of Making Homemade Egg Pasta”

You say Béchamel, I say Balsamella

A culinary tradition that is shared by France and Italy is Sauce Béchamel – as it’s known in French, or Salsa Balsamella – as it’s known in Italian (also as Besciamella or Bechimella).  The sauce has been used in both countries for centuries and the respective recipes are virtually identical.

The sauce functions as a binding element in countless dishes from all over Italy:  most notably in lasagne and cannelloni — but also in various gratins of vegetables, as well as a pasticcio (a “mess” or scramble of cheese and vegetables, meat, or cooked pasta, sometimes with a pastry crust), and timballi (baked pasta, rice or potatoes with cheese, meat and/or potatoes).

Balsamella is ubiquitous in Italian cooking, so it should be mastered.  But not to worry; it’s simple.  Here’s how:

  • 2 cups milk
  • 4 tablespoons (½ stick) unsalted butter
  • 3 tablespoons unbleached all-purpose flour
  • ¼ teaspoon salt


  1. Heat the milk in a small saucepan on medium-low, bringing it just to the boiling point, when it begins to form small bubbles.
  2. While the milk is heating, melt the butter in a heavy-bottomed saucepan.  Blend in the flour and then stir constantly for about 2 minutes without allowing the mixture to color.  At this point you have what the French call roux.
  3. Remove from the heat and once the roux has stopped bubbling, add the hot milk, very slowly at first, allowing each small addition of milk to become incorporated before adding more.  Continue to add the milk while vigorously whisking until the mixture is smooth.
  4. Return the pan to the stove and warm the mixture over medium-low heat, whisking without interruption while adding the salt (the French add pepper, the Italians do not).
  5. Continue whisking until the sauce thickens to the recipe’s direction, usually to the consistency of heavy cream.


Tips for Success:

  • If possible, use a heavy-bottomed enameled, porcelain, Pyrex, stainless steel, or tin-lined copper saucepan.  A thin-bottomed pan can scorch the sauce and aluminum can discolor it.  Also, choose a shallow pan over a taller one: the sauce will perform better if it cooks quickly using more burner area.
  • Although many insist this sauce only be made using a double boiler, I’ve never had trouble making it directly on the stovetop.
  • The sauce is best used in dishes while it’s still warm.  You can make it a day in advance and refrigerate it in an airtight container.  Slowly re-warm the sauce using a double boiler until it takes on a spreadable consistency.
  • If a film forms on the top while you’re focused on the recipe of which this sauce is a component, whisk it briskly.
  • Never allow the flour to brown, as it will acquire a pungent and bitter burnt flavor.
  • Although Julia Child, in her book Mastering the Art of French Cooking, recommends pouring in the milk all at once, I have had better luck adding a little at a time, as described above, to prevent lumps.
  • Never stop whisking!
  • To make the sauce thicker, cook and whisk a little longer; for a thinner sauce, a little less.
  • If you get lumps, smash them out with a wooden spoon or whisk – or you can use an electric hand blender, or force it through a sieve.
  • If the sauce becomes too thick, thin it out with milk, added a little at a time.
  • If the sauce is too thin (even after cooking down), add equal parts butter and flour until you reach the desired consistentcy.
  • This recipe can be doubled or tripled, but if you’re going to make more than that, use two pans.

.

.

The Italian Flavor Base: Battuto, Soffritto, Trito

The fundamental essence in many Italian dishes begins with a battuto, soffritto, or trito.  These elemental methods in Italian cooking are not afterthoughts or merely decorative, but where Italian flavor begins.  To know Italian cooking is to become familiar with these techniques.

A battuto is a flavor base of finely chopped or beaten raw ingredients.  The word is a derivative of battere, which means “to strike”, and describes the use of a chef’s knife chopping on a cutting board.  A battuto is usually a very finely chopped mixture of lardo (cured pork back fat), salt pork, pork fat, or pancetta with garlic and onions.   It can also contain celery, carrots, chilies, and / or other chopped ingredients.   Originally, a battuto was parsley and onion chopped in creamed pork lard, but today cooks have substituted olive oil or butter for lard and added other vegetables as well.  In Italy, many butchers sell a pre-made basic battuto.  Simmered in water, battuto can also serve as an alternative to more expensive meat broth.

Lardo battuto is cured pork fat pounded to a cream with herbs and garlic, used for stuffing or added to a broth or stew at the beginning or end of cooking. 

A battuto becomes a soffritto when it is gently sautéed in fat, usually olive oil.  A more precise definition of soffritto is a mixture of vegetables – usually onion, celery, carrot, garlic, herbs, and sometimes lardo or pancetta – sautéed in olive oil or butter until they become soft and caramelized, imparting their flavors to any ingredient that follows.

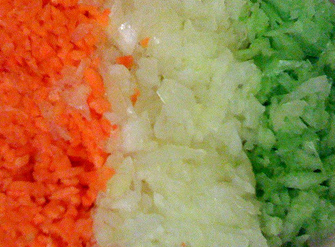
A trito is the same as a battuto but doesn’t contain pork.  It’s very finely chopped vegetables, usually including some combination of onions, celery, garlic, carrot, and parsley.  Other cuisines use this same technique:  refogado in Portuguese, sofrito in Spanish, sofregit in Catalan, mirepoix in French, and “holy trinity” in Creole cooking.

Crudo is a trito of raw vegetables and herbs or other ingredients that are added to a dish or sauce, and then cooked.   It can also be a mixture of raw herbs and vegetables that is put directly on (or mixed with) cooked food just before serving, as in Venetian risi e bisi (rice and peas) or pasta primavera.

Italians take their battuti and soffritti very seriously and it’s fair to say that grandma can keep hers a secret.  Here are some tips for success:

  • While it’s best to hand chop vegetables for soffritto, trito, and crudo, the most effective tool for a battuto is a food processor, using the pulse setting. 
  • Sauté a soffritto at medium to medium-high heat, no higher.  The idea is to impart the ingredients’ flavor into the oil or butter by sautéing them until soft and translucent, but not browned.
  • Begin the sauté after the oil becomes hot.  In other words, don’t pour the oil in a pan, add the onions, then turn on the heat.  Instead, let the pan heat up before adding the oil, then allow the oil become hot before adding ingredients.
  • Always begin with the onions and sauté until they clarify.  Then add the garlic (if called for), then add the celery, then the carrots.  If you sauté the ingredients simultaneously, the intense flavor of the raw, milky onion will be absorbed into the others, rendering them all onions!  Moreover, garlic cooks faster than onion and if both are added at the same time, the garlic will become too dark and its pungency will dominate the dish.
  • A good rule of thumb for the progression of soffritto ingredients:  begin with those that have the strongest flavor and that can withstand the heat the longest; finish with those that are most delicate.
  • If your soffritto calls for pancetta, begin the process with the onion and pancetta together.

.  

Related:  Mastering the Techniques of Sautéing and Browning

.

.